tiny apples - sewing plans! for the future!

Things to add to the label "sewing":
Any or all of your sewing patterns
Doll / BJD clothes patterns that you've made or found
(link back to original blog)
Plushies / soft toy patterns that you've made
(again, if found from another source link back to original blog!)
Knitting / crochet patterns (same with other patterns)
Photos of in progress projects!
(you can write about what you worked on
and what you're trying to make)
Photos of finished projects! (yay! take nice photos!)
Daily/weekly updates on sewing work
Drawings for clothing ideas / clothing/fashion sketches
accessories sketches / miniature sketches/ideas for miniatures
(these'll be drawings/doodles
for sewing things you'll make in the future!)
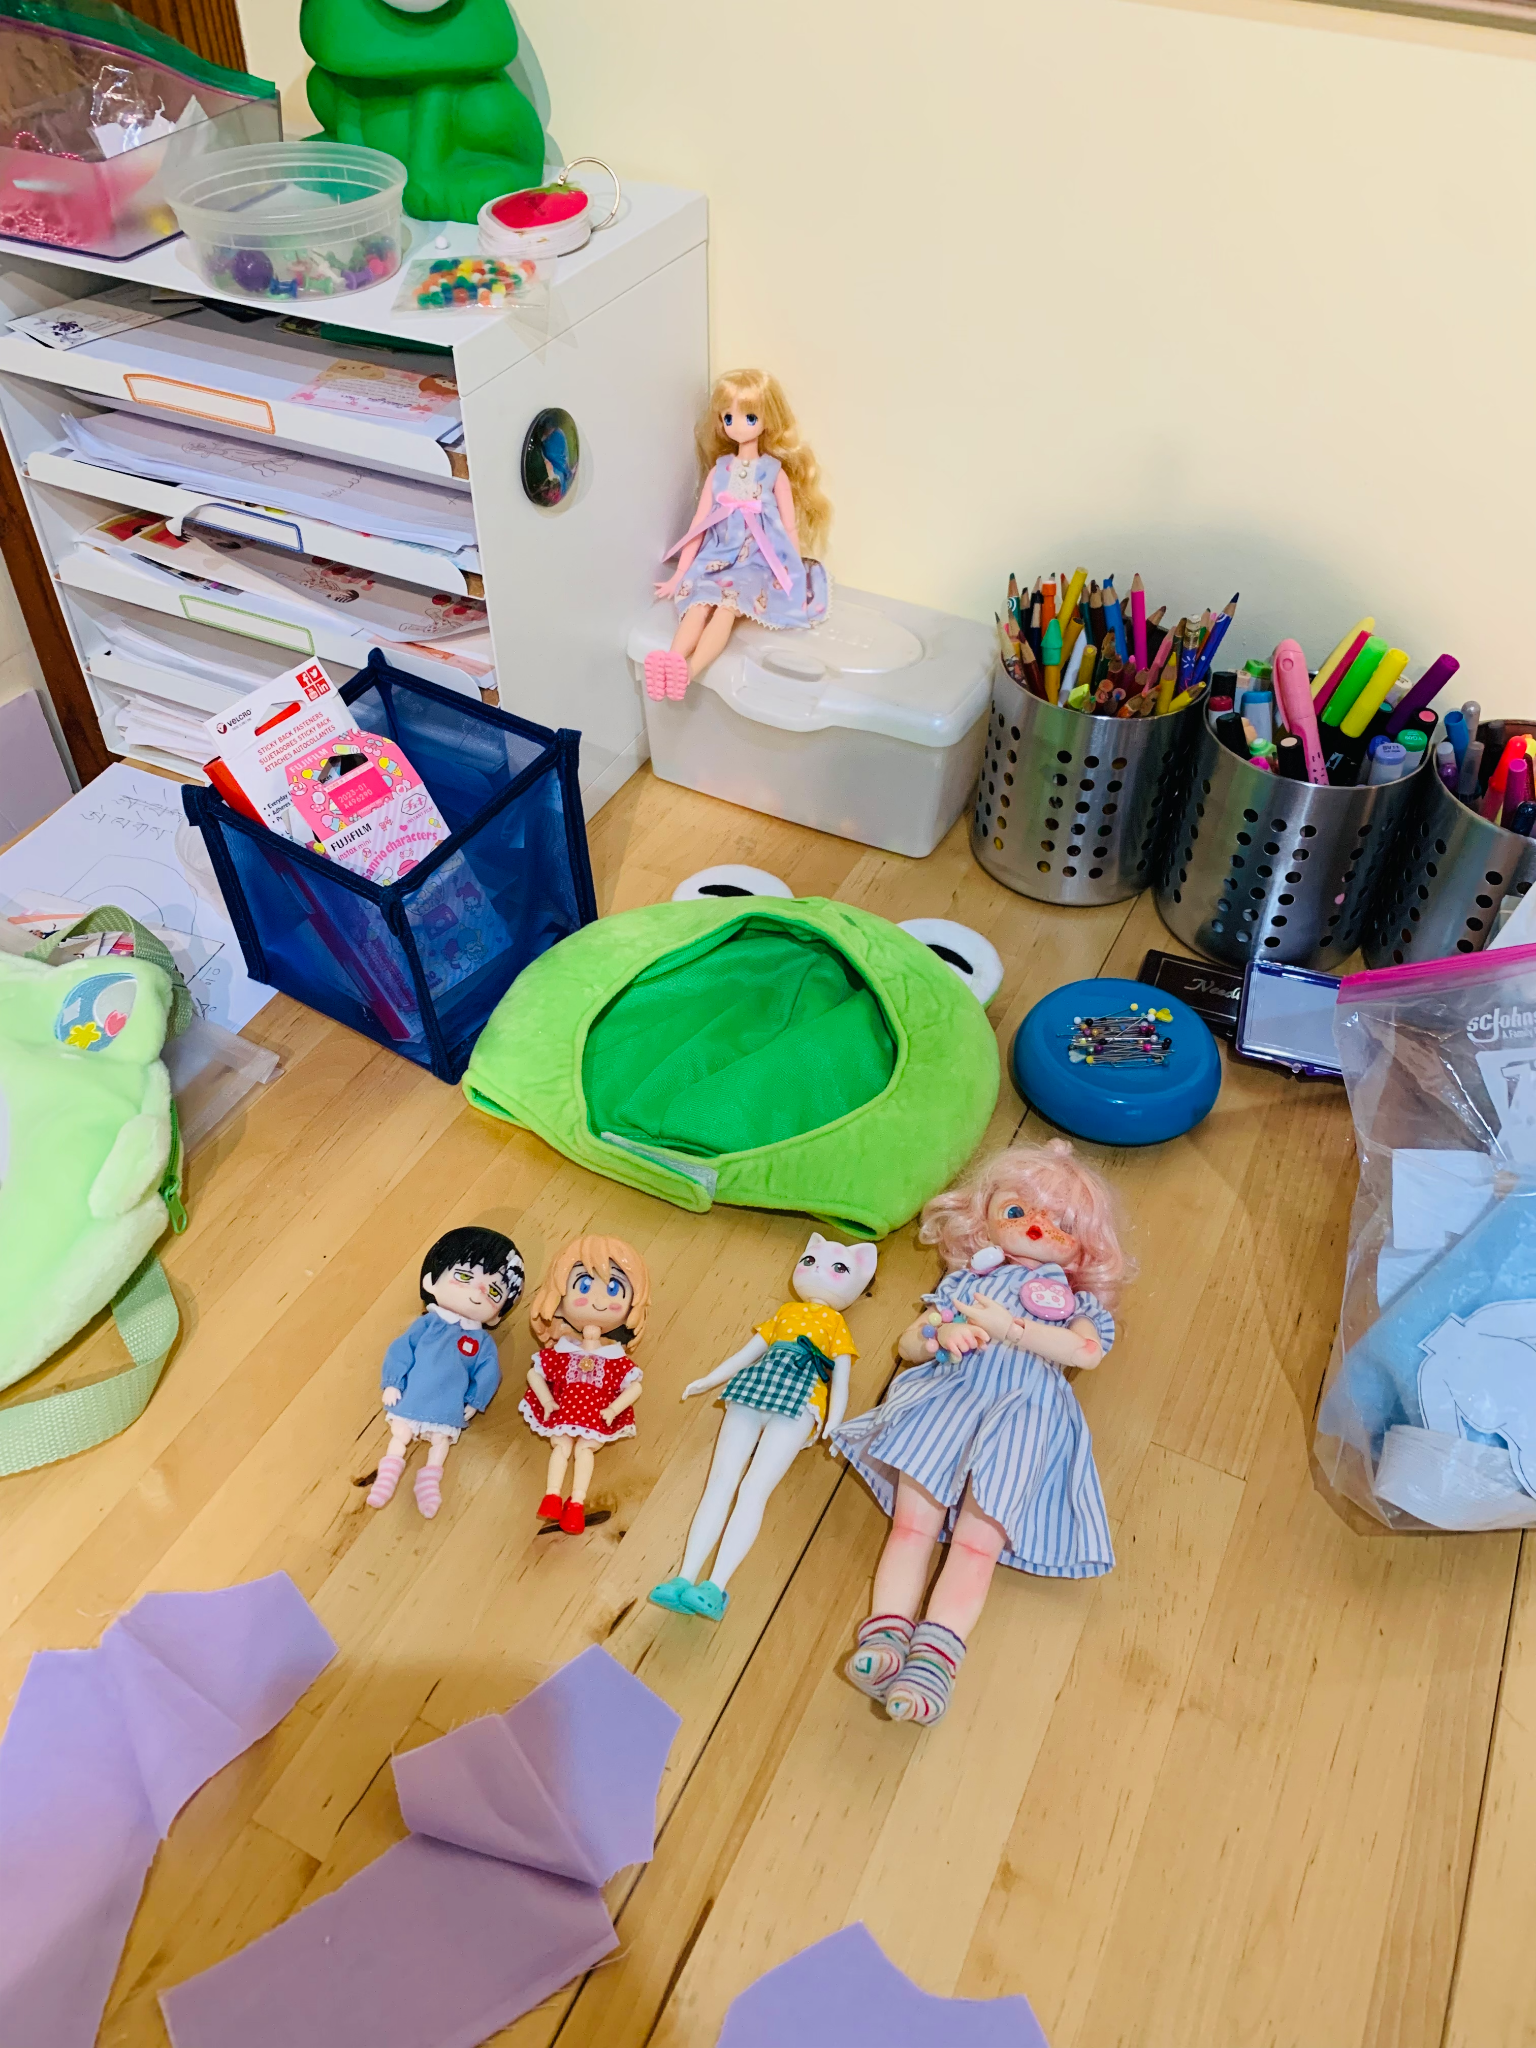
my workspace :o)
(my workspace is now changing
because i move from the dorm at school to my apartment!)
a photo of my current BJD crew ^o^

Death the Kid nendo
Patty nendo
Mariko (Pipos doll)
Jelly (FairyLand littlefee)
Kyandi (Azone doll)
☆ ☆ ☆
current projects at the moment
----
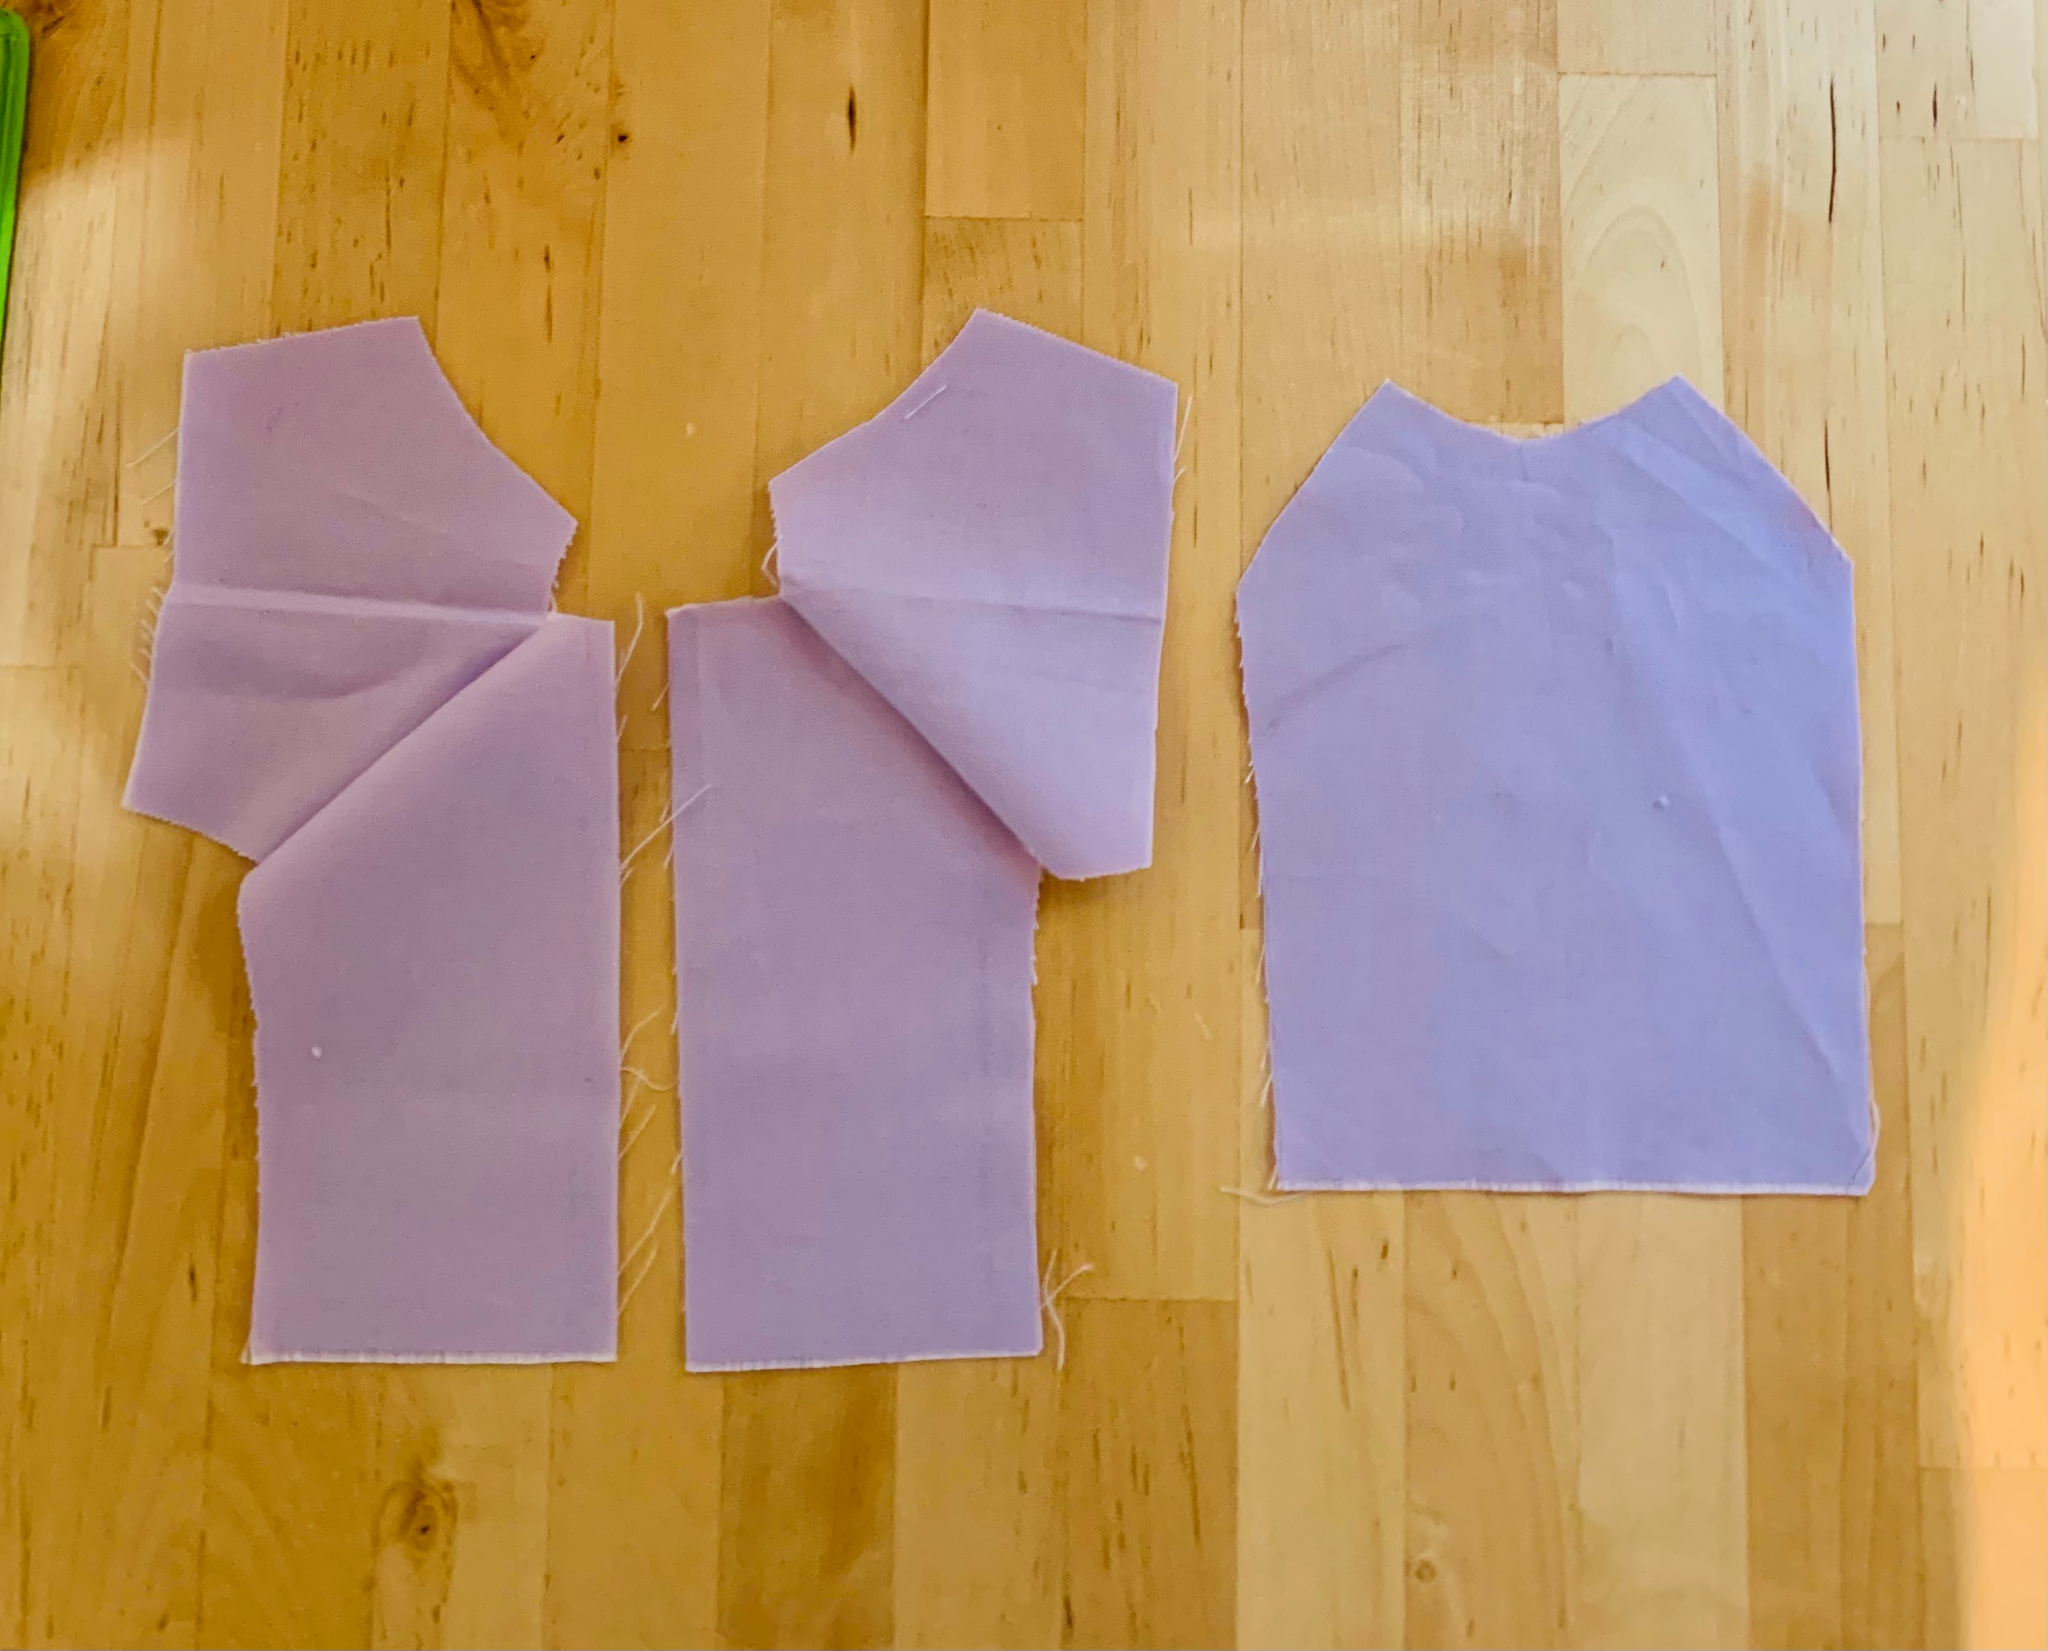
Jelly’s lavender shirt ---> to final capsule heart shirt

Jelly’s frog hat based off an actual frog hat I own

Capsule Pets plushies series ---> redo 1st Capsule Pet to make neater?

shoebox diorama :-)

amigurumi Death the Kid (and other amigurumi crochet practice)

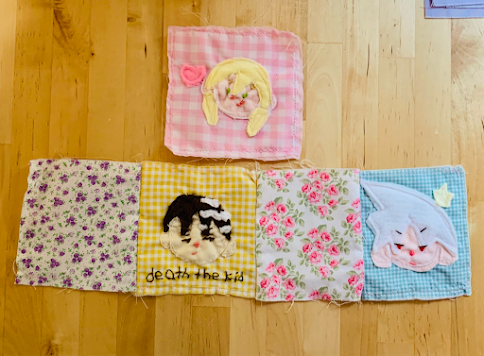
doll-sized patchwork blanket
“YARP” dog patch

This cool bag!
FRONT

BACK

Instructions for Jelly’s shirt
Material list
Mildly stretchy / regular cotton fabric (for shirt making)
Pattern (if you can’t find the pattern on Google Drive,
search online “YOSD shirt pattern” and it should come up)
Velcro (or plastic snaps/buttons) so you can close the shirt
Embroidery patches (for deco)
Iron on fabric transfer sheets (in case you
want to put a bigger image on the shirt)
(you’ll have to print the image on the iron on fabric
transfer sheets, not regular paper! You can also use
fabric paper meant for the printer, but iron on fabric
transfer sheets gives a cleaner result,
without the stitching lines…)
Sewing machine or needle and thread for hand sewing
Pins, thread
Other notions? (if you forgot anything?)
General sewing Instructions
Print out the pattern from Google Drive (the shirt pattern for
YOSD/littlefee) on plain paper (scale as needed)
Cut the pattern out, leaving seam allowance
Pin the pattern to the fabric and cut out each piece of the pattern
Start by sewing the first sleeve to the first side of the shirt (lining up)
Repeat by sewing the second sleeve to the second side of the shirt
Notice: The front of the shirt is one solid piece.
The back of the shirt are two pieces that line up together.
(velcro will open and close shirt)
Notice: the opening where the neck goes through should
line up with the sleeves and each side of the shirt
TO BE UPDATED!

notes about Capsule Pets!
______________________
capsule pets is an in-progress plushies series I'm making :-)
different animals/pets will be added, and the similar theme is
that they have a "capsule" shape on their bellies. it will be made
from transparent fabric or a transparent object, so you can
see through the capsule, and inside will be filled
with all sorts of cute things. ^o^
stuff you could put inside a capsule pet:
1. pom poms
2. glitter
3. tiny toys or miniatures
4. clay charms you've made
5. chunky glitter shapes
etc
the reason why i'm making these is because i was recently inspired by
Webkinz, and i like the theme of having a story/online counterpart to
a plushie. the whole "capsule" idea was a little random, though, i think
i'm just really into cute things like that and i've seen other
plushies or toys-- especially retro ones-- with that aspect of having
some sort of filling or transparent shape in their design.
ok, that's all!
^3^ 💗 💕
here's a drawing of the first one I made: I drew this after making the plushie,
but the sewing of the plushie isn't finished yet!
drawing:

plushie (draft):


(it looks a little messy, so I might redo it or make edits to make
it look neater. but for a first try, it's pretty decent, i think!)
thanks for reading my sewing plans for the future!
I hope to update this blog with more sewing projects
as I made them!


